Working inside WSL using Visual Studio Code
Jürgen Gutsch - 16 January, 2021
It is a long time since I did the last post... I was kind of busy finalizing a book. Also, COVID19 and the remote only working periods steal my commuting writing time. Two hours on the train that I used to use to write blog posts and stuff. My book is finished and will be published soon and to make 2021 better than 2020, I force myself to write for my blog.
For a while, I have the WSL2 (Windows Subsystem for Linux) installed on my computer to play around with Linux and to work with Docker. We did a lot using Docker the last year at the YOO and it is pretty easy using Docker Desktop and the WSL. Recently I had to check a demo building and running on Linux. My first thought was using and running a Docker container to work with, but this seemed to be too much effort for a simple check.
So why not do this in the WSL directly?
If you don't have the WSL installed, you should follow this installation guide: https://docs.microsoft.com/en-us/windows/wsl/install-win10
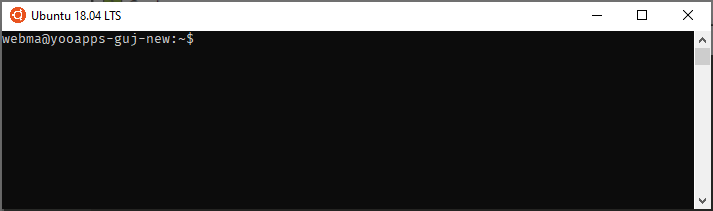
If the WSL is installed, you will have a Ubuntu terminal to work with. It seems this hosts the wsl.exe that is the actual bash to work:
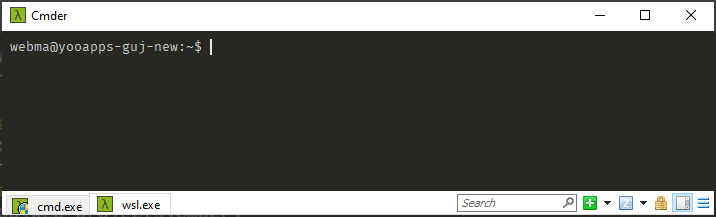
You can also start the wsl.exe directly, or host it in the Windows Terminal or in the cmder which is my favorite terminal:
Installing the .NET 5 SDK
The installation packages for the Linux distributions are a little bit hidden inside the docs. You can follow the links from https://dot.net or just look here for the Ubuntu packages: https://docs.microsoft.com/de-de/dotnet/core/install/linux#ubuntu
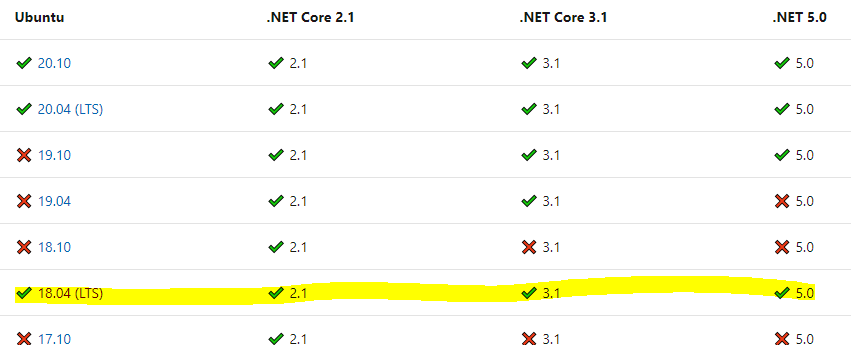
As you can see in the first screenshot, my WSL2 is based on Ubuntu 18.04 LTS. So, I should choose the link to the package for this specific version:
The link forwards me to the installation guide.
At first, I need to download and add the key to the Microsoft package repository. Otherwise, I won't be able to download and install the package:
wget https://packages.microsoft.com/config/ubuntu/18.04/packages-microsoft-prod.deb -O packages-microsoft-prod.deb
sudo dpkg -i packages-microsoft-prod.deb
After that, I can install the .NET 5 SDK:
sudo apt-get update; \
  sudo apt-get install -y apt-transport-https && \
  sudo apt-get update && \
  sudo apt-get install -y dotnet-sdk-5.0
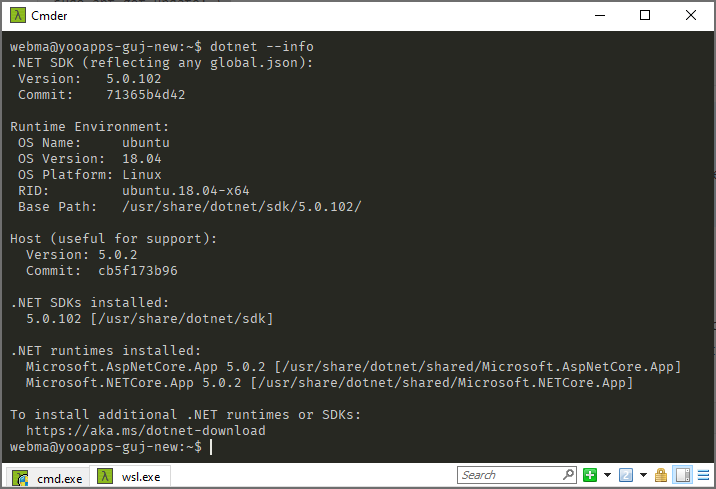
This needs some time to finalize. If this is done, you can prove the installation by typing dotnet --info into the terminal:
That's it about the installation of the .NET 5 SDK. Now let's create a project
Creating a ASP.NET Core project inside the WSL
This doesn't really differ from creating a project on Windows, except it is on the Linux file system.
Create a Razor Pages project using the dotnet CLI
dotnet new webapp -o wsldemo -n wsldemo
cd wsldemo
After changing into the project directory you can start it using the following command
dotnet run
You can now see the familiar output in your terminal:
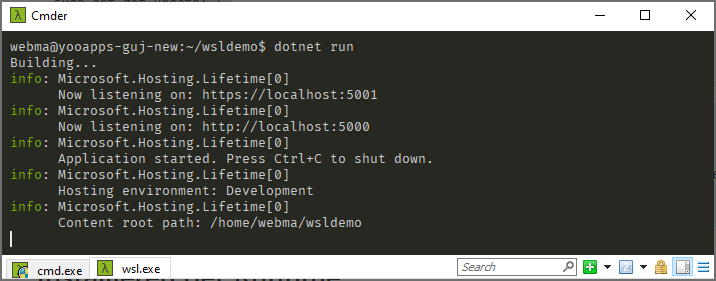
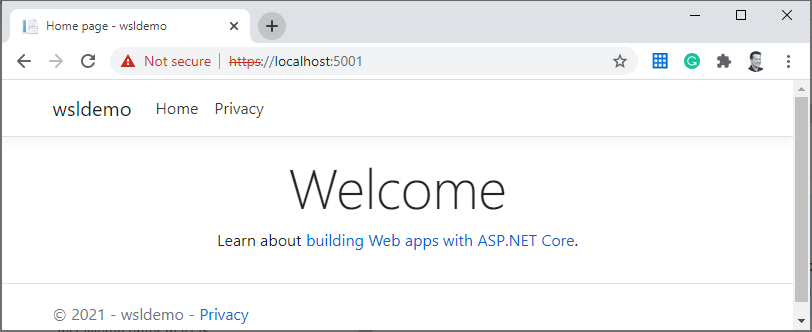
The cool thing now is that you can call the running web with your local browser. The request gets directly forwarded into the WSL:
That's it about creating and running an application inside the WSL. Let's see how you can use your local VSCode to develop inside the WSL
Developing inside WSL using Visual Studio Code
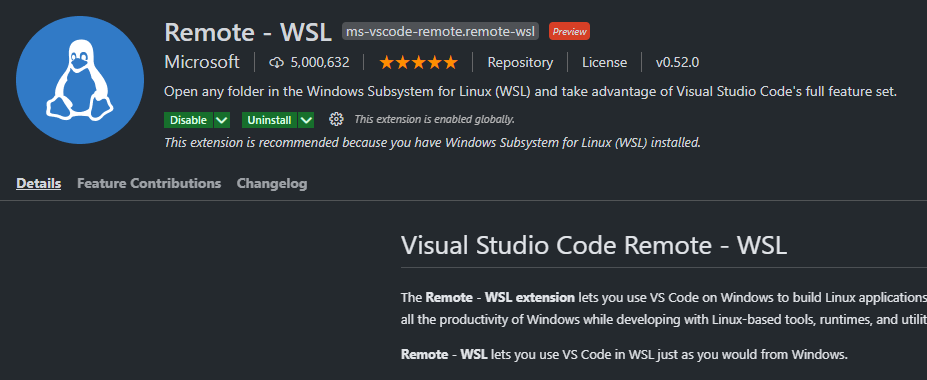
To remotely develop in the WSL using VSCode, you need to have the Remote - WSL extension installed
This extension will be visible in the Remote Explorer in VS Code. It directly shows you the existing WSL Target on your computer:
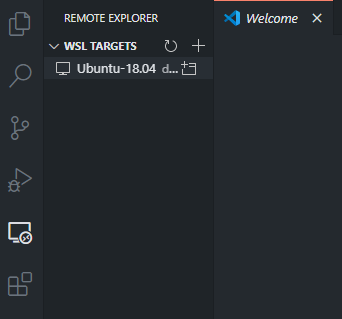
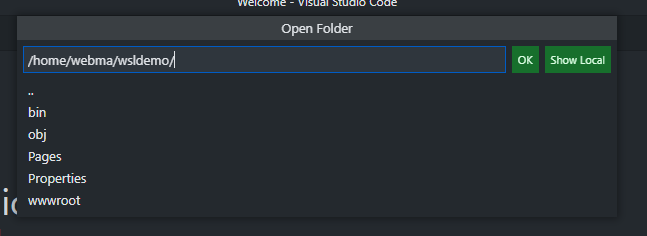
Right-click the Ubuntu-18.08 item and connect, or click the small connect icon on the right of the WSL item to connect to the WSL. This opens a new instance of VSCode that doesn't have a folder open. If you now open a folder, you can directly select the project folder from inside the WSL:
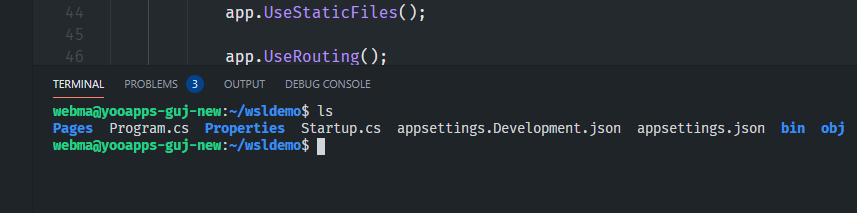
Click OK or press Enter, if you selected the right folder. When you connect the first time, it installs the VSCode Server inside the WSL, which is the actual VSCode instance that does the actual work. You really work, code, and debug inside the WSL. Your local VSCode instance is a terminal session into the WSL. IntelliSense, code analysis, and all the good stuff act inside the WSL. This also means you might need to install VSCode Extensions again in the WSL, even if you already installed it on your machine. Even the VSCode terminal is connected to the WSL:
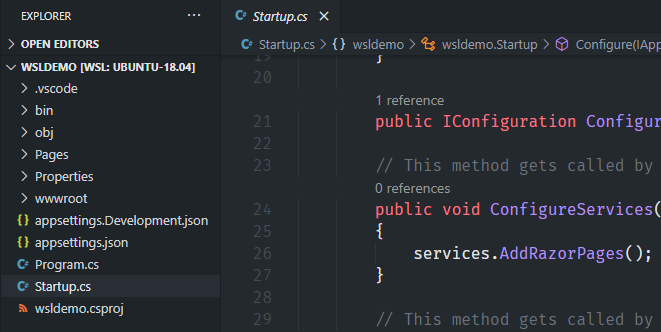
The Explorer shows you the current project:
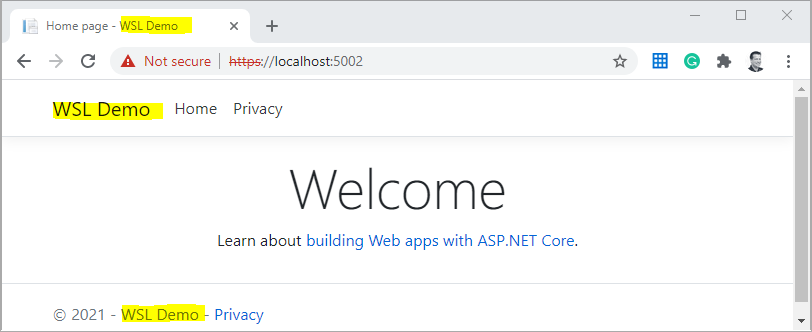
To see that remote coding is working, I open the _Layout.cshtml in the Pages/Shared/ folder and change the app titles to make it a little more readable. I change all wsldemo to WSL Demo:
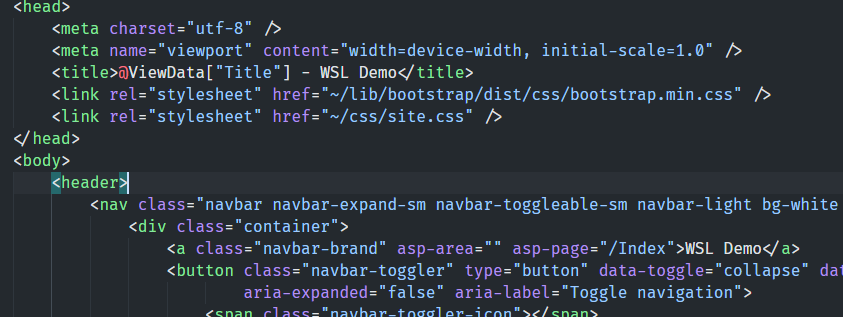
There is another occurrence at the end of the file.
What I didn't try until I write this line, is to press F5 in VS Code to start debugging the application. So I do now and voila: debugging starts and a browser opens and shows my changes:
That's it.
Conclusion
This was really easy and smoothly done. Microsoft did a lot to make remote development as easy as possible. Now I'm able to also test my applications on Linux or to develop for Linux.
Actually, I didn't expect that I can call a web that runs inside the WSL directly in a browser in Windows. This makes testing and front end debugging really easy.
To not mess up the WSL, I would avoid doing too much different things on it. Installing a .NET 5 runtime isn't a big thing, but if I also want to test a Nginx integration or other stuff, I would go with Docker Containers. Remote development inside a Docker container is also possible and I will write about it in one of the next posts.